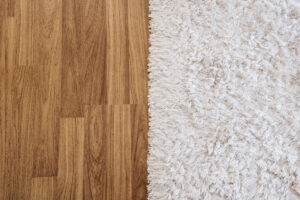
It’s a common story: you’ve moved into a new home and the carpet on the stairs isn’t to be desired. Whether it’s a dingy colour, contaminated from years of use or simply doesn’t match the rest of the décor, it’s understandable why you might start to feel a pining for a beautiful hardwood staircase. Lucky for you, you can renovate them 100% DIY and transform carpet stairs to hardwood for a reasonable price.
Why make the switch from carpeted stairs to hardwood?
If you’re out of ideas for your carpet, sometimes the best option is to let go and do away with it altogether. In fact, many homeowners find that this switch has plenty of handy benefits…
But why is that?
First things first, they’re much easier to maintain – no more worrying about red wine stains when you’re sneaking a glass up to your bedroom! This makes them suitable for pet owners and parents alike.
Besides these practical points, a staircase decked out in wood or a wood-look alternative can be a stunning addition to both classic and modern interiors, providing a sense of grandeur and timelessness.
And the best part? They are incredibly durable, meaning that it will be well worth the investment if you opt for a higher-quality material. So while the raw material cost might be more than that of carpets, you can rest assured that they will stand the test of time.
What you’ll need to go from carpet stairs to hardwood
To rip up your old carpet and reveal the state of the hardwood underneath, either for replacement or restoration, you’re going to need to get your hands on the following tools and materials.
While the supply list might feel extensive, don’t let it intimidate you! You’ll likely have a lot of these already and the other bits won’t be very costly.
Carpet removal tools
- Needle nose pliers
- Trim puller, crowbar or similar
- Hammer
- Flathead screwdriver
Stair tread and riser supplies
- Electric sander and sandpaper (grits 80, 150 and 220 will do the job)
- Painters tape and masking tape
- Wood filler (stainable and paintable)
- Caulk (paintable)
- Putty knife
- Tray, mini roller and/or brushes
- Painting, priming, staining products
- Hardwood treads (if replacing)
- Finish nailer (if replacing)
- Wood floor glue (if replacing)
- Lint-free rag or cloth
General stair renovation supplies
- Safety glasses, work gloves and noise protection
- Utility knife
- Masking tape
- Hoover and bin bags (for the clean-up)
Converting carpeted stairs to hardwood
Now you’ve got a good grasp of what supplies you’ll need for this stair makeover, allow us to guide you through the process step-by-step.
1) Evaluating what you’ve got
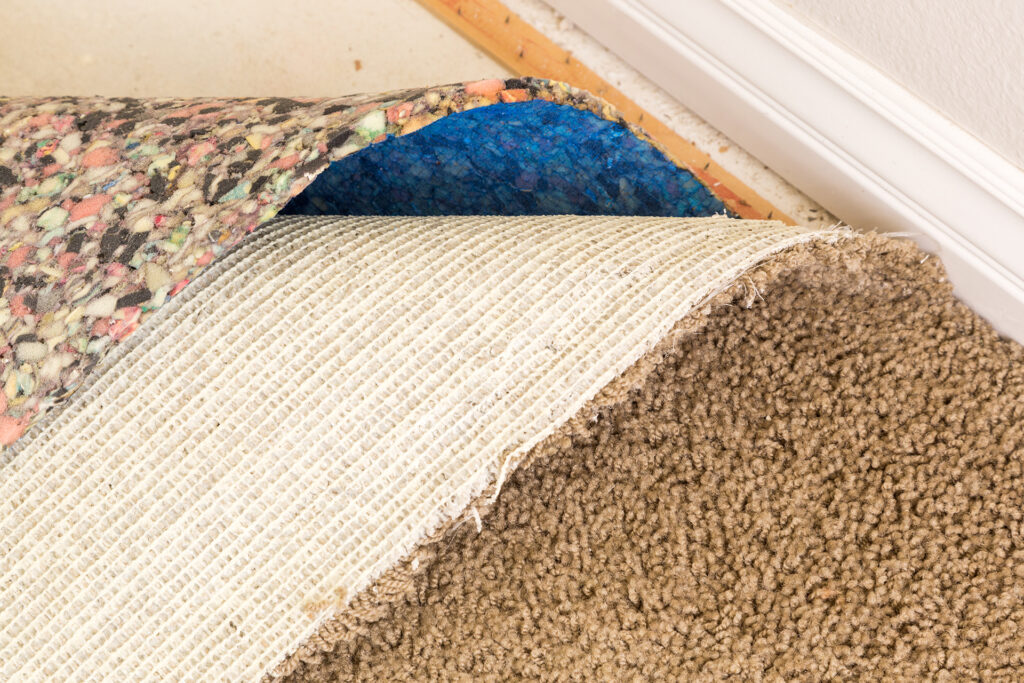
The best place to start is by pulling up a small section of the carpet on the bottom step and having a good look. Here you can evaluate the type of wood underneath, its condition and whether this DIY is a good idea for you.
After a quick inspection, you’ll be able to see if you have:
- Existing hardwood treads in good condition – ideal for refinishing
- Softwood treads like pine – not the best but workable
- Plywood treads – these can be painted (not stained), but the best course of action for a beautiful look is to install new hardwood treads.
What if my staircase isn’t workable?
If you’re scratching your head, thinking that a DIY stair makeover is unfeasible or will simply look naff, don’t stress it. We have backup options.
For one, you could get in touch with a local LVT installer and get a quote for the job. Alternatively, you could check out engineered wood flooring avenues to achieve the same feel. Both do a brilliant job of mimicking the natural warmth of real solid wood at a fraction of the cost.
2) Removing that carpet
Whether you’re refinishing or replacing, the next step is to rip up your carpet and the padding – which is easier said than done! Wearing your work gloves to protect you from the spikey carpet grips and staples, pull it off with your pliers.
If you’re struggling, start in a corner and give it a gentle pull – if you’re lucky it should start to come away and you can yank off the rest in one piece.
This process gets messy, especially if your carpet underlay has seen better days, so make sure you wear a mask. Also, be sure to have a hoover with you on standby as dust and other debris can fly up during removal.
3) Take out the carpet strips and staples
This bit can get a bit fiddly, but once you get into a groove you’ll get the hang of it. With your safety glasses on, begin pulling out the grippers and staples.
An easy method is to wedge a trim puller or similar under part of the gripper and tap the ends with a hammer to dislodge them. To get rid of the staples, we recommend sliding a flathead screwdriver under them and popping them out.
Thoroughly clean the stairs with your cloth in preparation for dealing with any imperfections or attaching your new treads.
4) Get rid of any holes and gouges
For those planning to replace your treads and risers, you can skip the next two steps as you’ll be covering up the existing ones. Restoring yours? Then stick around.
If you’ve followed the previous step correctly, you should be left with a staircase free from anything spikey, but there’ll be a lot of holes. Alas. That means it’s time to fill them.
Using a stainable or paintable wood filler, make the surface smooth as you fill in all those holes. Do note that large sections of the wood filler will be more noticeable after staining, so be cautious when dealing with sunken spots.
5) Sand to perfection
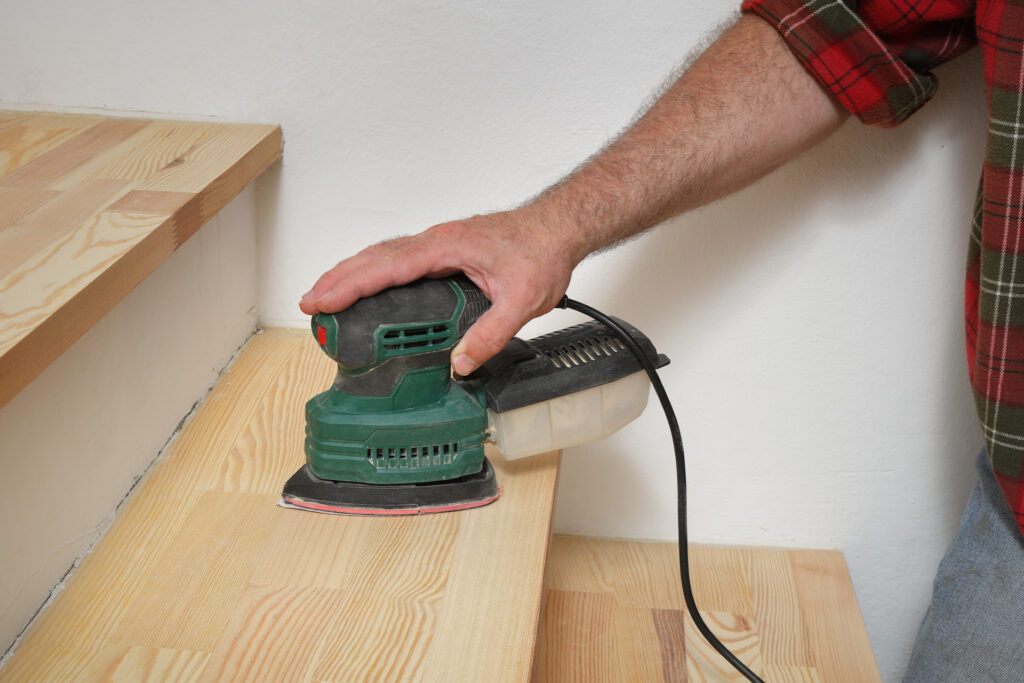
You want a lovely level surface to walk up and down on, and that requires sanding. Do some heavy-duty sanding with your electric sander and sandpaper, ensuring both the treads and risers are smooth.
This will make a lot of mess, so you might want to hoover as you go – and, of course, close any nearby doors as dust can travel! Again, whip out your cloth and clean the area.
6) Staining the stair treads
Let’s get on to the staining. Whether you’re opting for new treads and risers or you’re going with the original ones, this process will be similar.
Begin with a layer of wood conditioner on the unfinished treads to help them gain a uniform look. Once fully absorbed and dry, apply your chosen wood stain along the grain as per the instructions and wait for it to dry before applying another two layers and a clear topcoat.
If you’re applying directly to the original stairs, a good idea is to work along the staircase by every other step.
For those staining new ones, make sure to carefully measure up each step and cut your treads to size, way before you get to staining them. You can take them outside to apply the stain, labelling them with an easy-to-follow numbering system to help with fitting them later on. It’s much easier to manage this way.
7) Painting the risers and skirting board
Next, let’s talk about the risers and skirting board. After waiting for a few days for the stained treads to dry, or when you’re ready if they’re happy drying in another room, you can begin making over your risers and/or skirting board.
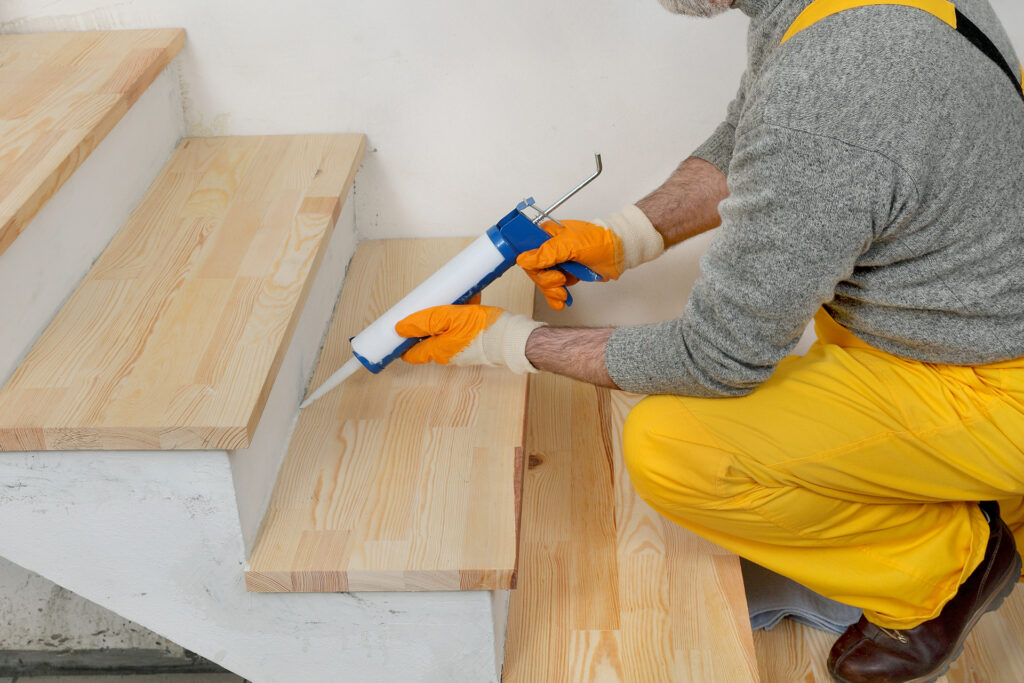
Put down your painters tape along the edges, ensuring they remain parallel. If you find that there are gaps between the risers and tread, fill in the area using a fine line of caulk. When the caulk is dried, you can get to adding a layer of primer (if your paint isn’t self-priming).
After your primer has dried as per the instructions, it’s time for the painting. We suggest using an angled brush for the edges and corners, then a mini roller for the main body. Two coats as a minimum will do a good job.
In a similar fashion, paint your skirting boards, being extra carefully to mask up the wall and stairs accurately to avoid stray blotches. This will achieve a crisp look – exactly what you’re after!
8) Finishing up
Restoring the original treads? Then you’re done! Go clean everything away and put your feet up.
If you’re adding new treads, there’s just one more step: fixing the treads onto the staircase.
To attach your new finished treads, apply some wood floor glue in a snaking pattern across the length of the surface. Press the tread down firmly and check that you’re flush on the subfloor – you might want to use a rubber mallet to give it a couple of loving taps to get it snug.
To “two-birds-one-stone” it, you can attach your risers at the same time, which helps you reign in the mess. Then nail the sides of the treads along the stringer at even intervals and the riser too. You can put some additional fastenings along the very top row of the riser as you’ll never see them when the next tread is in place.
Et voila! You have a transformed staircase – from dingy carpet to breathtaking wood.
Rather leave it to the experts?
We get it. Sometimes the DIY game can be a little daunting, especially when we’re looking for a professional finish. When it comes to getting your wooden stairs fitted, you want an immaculate end result, and sometimes that calls for a helping hand.
For those looking for a proven expert to get the job done, get in touch and we’ll sort you out. With over 45 years of combined experience, we’re confident we can breathe life back into your staircase, so it speaks a thousand words.