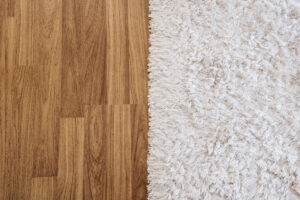
In a toss-up between calling in professional installers and going it DIY? We don’t blame you. As independent (and award-winning, I might add) flooring installers, people are always asking us how to lay laminate flooring on concrete.
Despite all the conflicting advice you might see online and varying claims about difficulty, anyone with a steady hand, keen eye and good DIY competence can do the job to a decent standard.
To help you achieve just that, here’s a no-nonsense guide I’ve pulled together, complete with the trade secrets I’ve picked up in my 2 decades of fitting floors. I’ll walk you through picking underlay and laminate options, how to approach the subfloor prep, before revealing my fool-proof method for getting those laminate boards nice and snug in your home.
Skip ahead:
- Prior Considerations
- How to Install Laminate Flooring on Concrete
- Wrap Up + Next Steps
- Frequently Asked Questions
Prior Considerations You Need to Make Before Cracking On with the Project
In my experience, laminate has been a perennially popular wood floor alternative, with Yorkshire homeowners favouring the material thanks to its balanced mix of cost effectiveness, lifespan and pleasing aesthetics. But don’t just take my word for it; according to recent research, the UK laminate flooring market is predicted to expand to £3.4 bn, or by 5.7% CAGR, by 2023. Yep, it’s not going away any time soon!
Before you jump on the laminate train, though, it’s necessary to run through a few considerations to make sure this is the flooring type for you.
Confirm Suitability to Your Needs
This seems obvious, but when one missing quality could significantly impact the performance of your floors, failing to read the product specs could be a costly mistake.
Laminate flooring is known for being easy to clean, scratch-resistant, simple to install and cheaper than other options like LVT. However, it’s not universally suited to all rooms. While generally robust and pet-friendly, laminate isn’t the best choice for bathrooms and kitchens, since its particleboard is moisture-vulnerable.
By the same token, its boards are easier to chip than engineered wood or LVT, for example, so you may have to look to specialist laminate products with extra moisture resistance or a high abrasion class (AC) rating. On the bright side, laminate is compatible with underfloor heating – great news for folk with poor circulation!
How Much Laminate Do I Need?
How long is a piece of string? Jokes aside, before you grab your tool kit or click ‘add to basket’, you’re going to need to work out how much material you’ll be working with.
We’ve already written a comprehensive guide on how to measure up accurately, so I’m not going to labour the point here, but do remember to add 10-15% extra onto your room’s area to give you some leeway for obstacles and mistakes (they do happen).
Laying Patterns
Lastly, it’s worth drawing your attention to the types of laying patterns available, from classic straight lay to complex designs like herringbone or chevron. As you might imagine, the more complicated the arrangement, the more cutting and measurements are required. As such, we’d recommend leaving the professionals to tackle the latter – especially when there’s a limited margin for error.
How to Lay Laminate Flooring on a Concrete Subbase
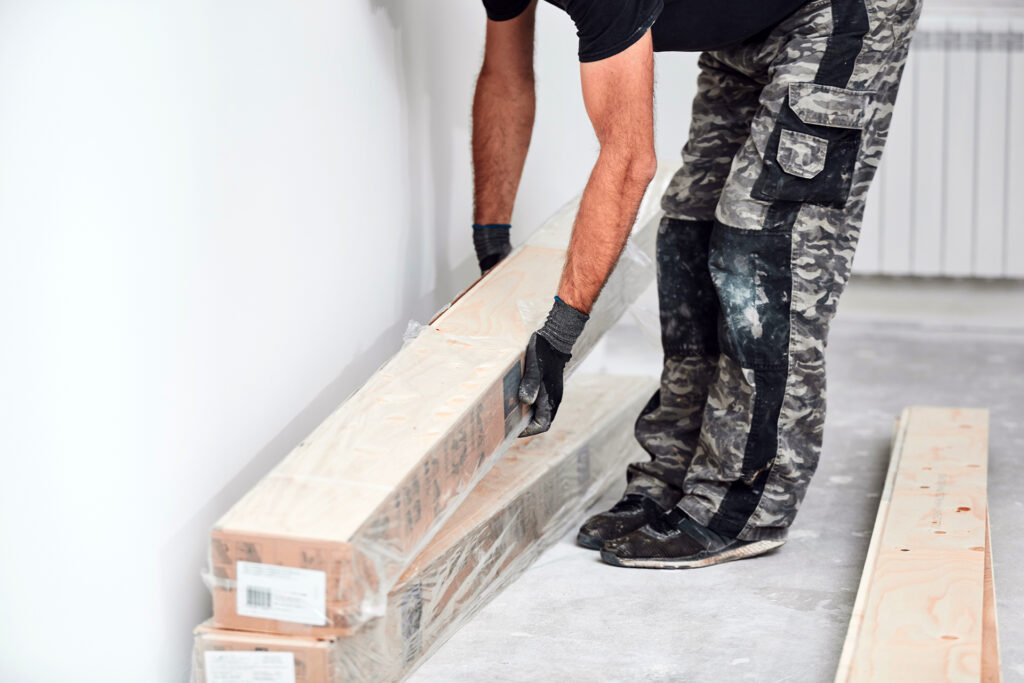
Laminate flooring is installed much like engineered wood, since they share tongue-and-groove style joints. For this reason, it’s often laid as a floating floor, the method this guide will focus on, due to its beginner-friendliness. As many of our clients have remarked, it’s just like a jigsaw puzzle – albeit a big one!
Make sure to bookmark this tutorial, so you can come back to it later when you need a refresh.
Step 1) Prep the Concrete Subfloor & Make Sure Everything is in Order
Learning how to install laminate flooring is a great entry-level DIY project; one you can read up on and execute in just a few hours, depending on the size of the room.
That said, before you get started, it’s essential to make sure your concrete subfloor is in good condition; in other words, dry, solid, even and debris-free. Skipping this step will significantly stall the process – something I know all too well as a flooring fitter…
Here in the York area, where we operate, old terraces pervade the city. These period homes often come with their fair share of subfloor problems: case and point, a recent job we undertook in this Victorian home – nothing we couldn’t fix with a base coat of moisture-tolerant compound, epoxy DPM and a lick of smoothing compound!
If that sounds like a lot of jargon, you’re not wrong. Concrete subfloor preparation is complex and not something we recommend tackling yourself. Instead, focus on identifying signs of damage, unevenness, or excess moisture. Leave the rest to the professionals, who will follow the BS8203 code of practice for installing resilient floor coverings.
Red Flags to Look Out For
Rip up your old floor covering and underlayment to check for:
- Cracks or holes in the concrete
- Water stains and discolouration
- Excessive humidity (top tip: you can do a quick plastic sheet test if you’re unsure at a glance)
- Mould or rotting flooring/underlay
- A strong, musty smell
- Unevenness or a steep slope
Check these off? Then you need to call in the professionals; they’ll have the skillset and tools to level, moisture- and mould-proof the subfloor, leaving it sparkling just like this:
Step 2) Gather Your Tools & Acclimatise Your Materials
Now that you’ve the peace of mind that your subfloor is flooring-ready, you can move on with the process and gather everything you need for the installation.
Ensure that you grab your supplies at least a week in advance to allow your chosen floorboards and underlay to acclimatise to the temperature and moisture levels of the interior.
Simply pile up the packs in a corner and allow them to sit for a week. The underlay can sit out for 24 hours prior to the installation.
You Will Need
- PPE: dust mask, goggles, gloves, kneepads
- A workbench (or another sturdy surface for cutting)
- Pencil or marker pen
- Rule, ruler, measuring tape & a spirit level
- Pry bar
- Saw (hand saws, jigsaws or table saws will do)
- Utility knife
- Rubber mallet
- Underlayment and tape (if required)
- Spacers
- And finally, the star of the show, your laminate flooring
Note that there’s zero nailing or glueing required!
Step 3) Install the Underlay Carefully
Next up on the agenda is underlay. You install it exactly as you would any other underlayment: measuring and cutting it carefully to size with a utility knife, positioning the piece or rolls in the room with 5-10mm gaps for expansion around the edge and securing it in place as per the manufacturer’s instructions.
Make sure to double, triple, or even quadruple-check your measurements at this point; you don’t want to run out of the stuff, as a mishmash of underlayment can lead to an uneven finish.
Here, I recommend picking foil or foam underlay, as they both perform well with laminate floors and are a breeze to install. Simply tape along the joins and stick them self-adhesive side down. For a more detailed look, go and read our underlay installation guide once you’re ready.
Top tip: If you can, try to remove all of the trim beforehand, as it will make your life so much easier when it comes down to the installation. Similarly, undercutting your door casings to your estimate of the floor’s finished height will allow you to close the door properly from the get-go.
Step 4) Lay the First Row of Laminate
Use flooring spacers to create a 7mm expansion gap around the edge of the wall. This little detail makes a big difference later, allowing your boards to expand naturally and keeping your floor looking even and long-lasting.
With the spacers in place, you can start positioning your first row of boards. Take your time getting this straight and secure with your rule, as it sets the tone for the rest of the floor. To join the boards neatly, angle one into the next and gently tap along the joint with a rubber mallet and tapping block until they lock snugly together.
When you reach the end, take a pencil and mark where you need to cut off the excess. With the mark in place, move to your cutting station and saw accurately along the line. Don’t throw away the excess – you might need them later for other rows, or if any of your remaining planks becomes damaged.
Top tip: When cutting laminate, aim to use the finest tooth saw you can to avoid chipping the boards. You want nice, clean cuts throughout.
Step 5) Continue Laying & Work Around Obstacles
Once that first row is down, you can really start to find your rhythm. Keep staggering your joints for strength and a natural look, and remember to check your expansion gaps as you go. But what about when you hit those awkward spots? Here’s how I tackle a few common ones:
Alcoves & Bay Windows
It’s a little tricky, but patience is key. I like to take a bit of extra time marking and cutting each piece to follow the shape of the space. It’s worth the effort; the end result looks seamless and custom fitted.
Pipes & Radiators
I drill a small hole using a wood drill bit just slightly larger than the pipe, then make a straight cut to it so the board can slip neatly into place. Trade secret: once it’s fitted, a matching pipe collar hides the join seamlessly.
Toilets
For bathrooms, I carefully cut around the toilet base with a knife for extra dexterity, using a template if needed. PSA: only use the specialist water-resistant laminate in environments like this!
Step 6) Add the Finishing Touches with Trim and Threshold Bars
Once the last board is in place, you can get on with the finishing flourishes. If your original skirting board covered the expansion gaps, you can reinstall that now, or if you’re up for something different, you could add laminate trim.
Here, the job is relatively simple: just measure the trim to size, cut with your saw and then apply it to the walls with a strong grab adhesive, just above the expansion gap, so the laminate boards have wiggle room for movement beneath.
Finally, don’t forget to add threshold bars, making sure to fit the right type according to the adjacent floor. These are either screwed in or stuck down with a flooring adhesive.
Step 7) Final Checks & What to Avoid
Once your new floor is down, don’t rush to move furniture back in straight away. Take a few moments to check everything carefully: edges, joins, transitions, and any areas around doorways or kitchen units. This will save you botched repairs with filler later down the line. Check for:
- Evenness
- Consistent expansion gaps
- A correctly staggered pattern
- Properly interlocking planks
If you do notice a mistake, you can always use a pry bar at an angle to pull up problem boards – usually, without damaging them. This is all part of the beauty of laminate’s zero-adhesive installation; it makes it so much easier to correct slip-ups.
And just as important – here’s what not to do.
We recently visited a property in Fishergate where a herringbone laminate had been fitted completely wrong. The previous installer had used three different types of underlay (they must’ve run out mid-job!), and the surface was far from level. Worse still, there was hardly any expansion space around the sides, and the kitchen had been fitted on top of the flooring.
The result? Buckling, lifting, and a floor that looked and felt terrible. We ended up stripping everything back, applying a proper smoothing compound to the concrete, and returning a few days later to install a herringbone LVT instead. The transformation was night and day!
Mistakes like that are easy to make but expensive to fix. So, before you declare your installation complete, double-check those key details, or better yet, get a second opinion.
A Note on Other Subfloor Types
Curious about how laying laminate flooring on concrete differs from an installation on a wooden or ply subfloor? Well, fortunately, most of the difference lies in the preparation stages of the project.
Generally speaking, wooden and ply subfloors are easier to repair, given that you can deal with individually affected boards without ripping up the entire surface. Concrete, on the other hand, is a completely different kettle of fish, requiring a more intensive, messier fix – not to mention, way more accurate levelling.
Another key difference is the freedom with which you can place the laminate boards; on concrete, their direction is more of a design choice, whereas with wooden/ply subfloors, they’re best positioned at a 90-degree angle to the existing floorboards for better stability.

Wrap-Up & Next Steps for Homeowners
Now you know how to lay laminate flooring on your concrete subbase, it’s time to pick out your favourite designs and get ordering.
If I’ve done this guide justice, then you should be feeling much more confident in your DIY capabilities. Really, the key qualities of a great flooring fitter are focus, patience, and a meticulous eye for detail. For newcomers, that means double, or even quadruple-checking your measurements – after all, they say slow and steady wins the race.
Still in two minds about the project? No worries: our friendly team is on standby with all the insights you could need. Alternatively, you can keep learning from our advice and how-to guides on our specialist flooring blog.
How to Lay Laminate Flooring on Concrete: The FAQs
Before we round off this guide, here are a handful of frequently asked questions that customers bring to the Derwenthorpe team.